How to Set Up Umami - A Google Analytics Alternative
Google Analytics is often the go-to web analytics tool for website owners due to its free availability and ease of use. For many, it’s become the default choice upon launching a site. However, several effective alternatives to Google Analytics are also available. This guide introduces Umami, a powerful and privacy-focused analytics tool, and explains how to set it up. Explore how Umami offers essential insights with GDPR compliance and simplified data tracking for improved privacy and control.
What is Umami?
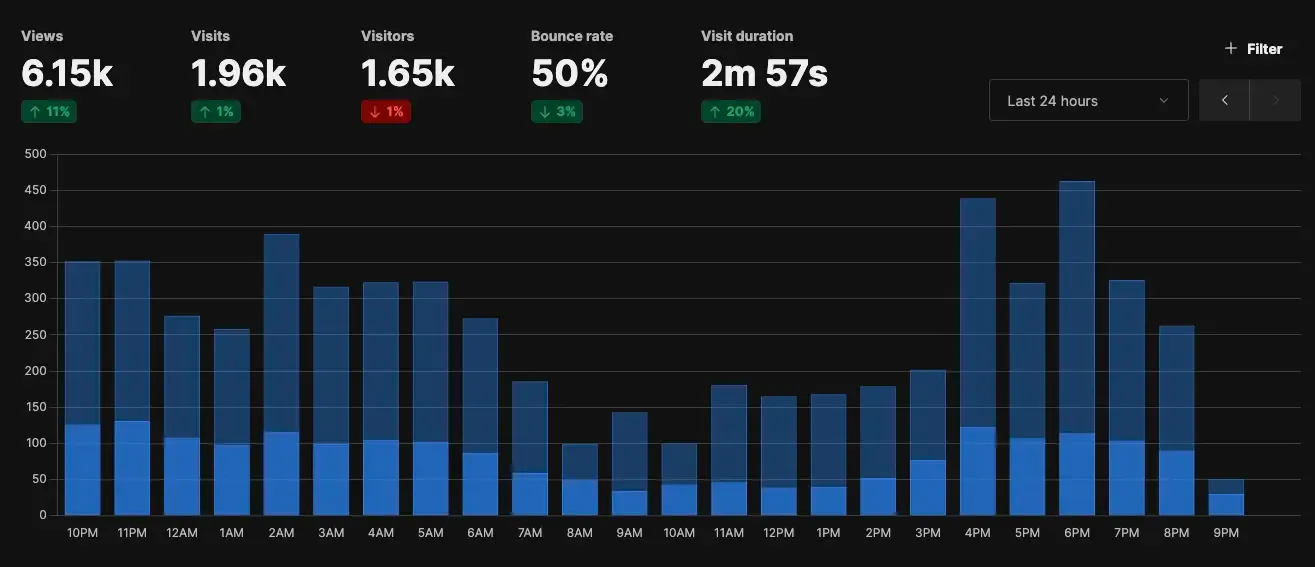
Umami is an open-source web analytics tool that prioritizes privacy, much like other modern web analytics solutions. It operates without using cookies and complies with regulations such as GDPR, allowing for traffic analysis without requiring user consent in the EU. With its lightweight and fast performance, Umami features a simple interface that makes it easy to view essential visitor data for basic websites.
One of its standout features is the ability to self-host on your own server, providing a cost-free solution while giving you complete control over your data. This makes Umami an attractive option for open-source enthusiasts and self-hosters like myself. However, I have noticed that its development activity may not be as robust as some other tools.

Another open-source web analytics tool is Plausible Analytics, which offers a Community Edition (CE). However, the CE version has significantly limited features compared to the full product, and updates are scheduled only once every six months. Additionally, it utilizes ClickHouse as its database, which can be somewhat resource-intensive for personal use.
In contrast, Umami provides all its features without limitations, and setting it up on your server is manageable with a moderate level of technical knowledge. For those who prefer not to handle self-management, a paid version is also available. However, if you opt for a paid solution, you may want to consider other analytics tools as viable alternatives.
Other Alternative Web Analytics Tools?
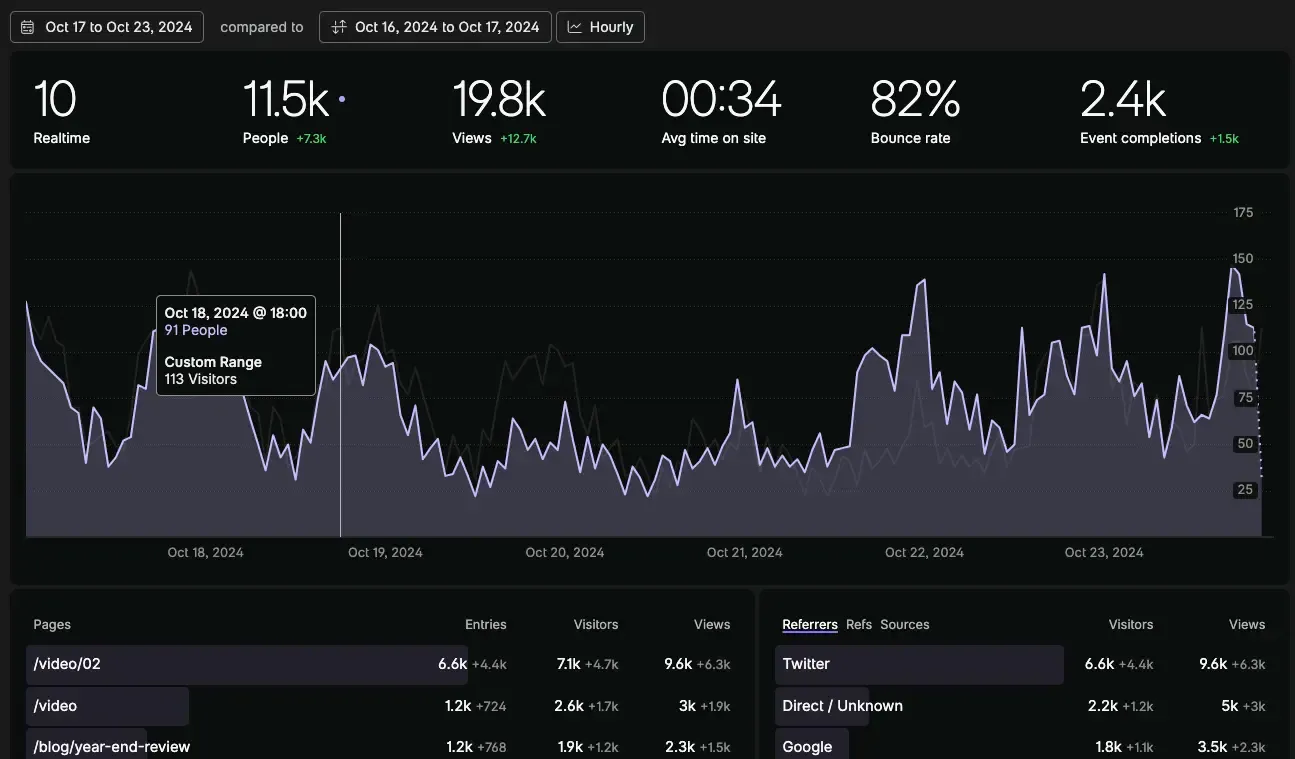
If you prefer a web analytics tool without the need for self-management, I highly recommend Fathom Analytics. This tool is utilized not only by individual users but also by companies like GitHub and IBM. A demo is available for quick viewing, showcasing its user-friendly interface, which is significantly easier to navigate compared to Google Analytics. Additionally, the charming character that appears throughout the official website adds a fun touch to the experience.

Fathom Analytics offers pricing starting at $15 per month, and they provide a free trial for you to test the service before committing. This makes it a great opportunity to see if it fits your needs.
How to Set Up Umami
In this section, I will outline the steps to set up Umami. Below, I provide an example of the setup process using Nginx on an Ubuntu server. However, the general flow remains consistent across different environments, so feel free to adapt the instructions as needed.
Install Umami
First, install yarn via npm. If you don’t have npm installed in your environment, you can install it using the command apt install nodejs npm. Once you have npm set up, clone the Umami repository from GitHub and run yarn install to make it ready for use.
$ npm install -g yarn
$ cd /opt
$ git clone https://github.com/umami-software/umami.git
$ cd umami
$ yarn install
To run Umami successfully, you need to specify the appropriate database URL in the environment variables. In the following example, we will use the database name umami (which we will create).
$ vim .env
# add the following line (change MySQL username and password as needed)
# DATABASE_URL=mysql://root:password@localhost:3306/umami
In this example, MySQL is specified, but PostgreSQL can also be used if preferred. If MySQL is not already installed on your system, you’ll need to install it with a command like apt install mysql-server.
$ mysql -u root -pCREATE DATABASE umami;
Finally, once you’ve built the project, Umami is ready to launch.
$ yarn buildAdd a DNS Record to Enable Access to Umami
Even after launching Umami on your server, it won’t be useful unless it’s accessible. Therefore, add a DNS record to enable access to Umami’s dashboard.
For example, let’s say you want to publish Umami at the domain umami.example.com. In this case, add an A record to your DNS, setting the HOST to umami.example.com and the ANSWER to your server’s IP address.
Issue an SSL Certificate
To enable HTTPS connections, you need to issue an SSL certificate. There are several ways to do this, but here we’ll use acme.sh as an example.
Assuming the acme.sh home directory is set to /etc/acme/, you can issue a certificate by running the following commands. In this example, we specify Let’s Encrypt as the CA (certificate authority), register an account with your email address, and issue the certificate in Nginx mode. If you copy and paste the command, be sure to replace <email> and the domain name with your own information.
$ /etc/acme/acme.sh --home "/etc/acme" --set-default-ca --server letsencrypt
$ /etc/acme/acme.sh --home "/etc/acme" --register-account -m <email>
$ /etc/acme/acme.sh --home "/etc/acme" --issue --nginx -d umami.example.com --reloadcmd "nginx -s reload"
Modify the Nginx Configulation
Since you have issued the certificate, the next step is to configure Nginx. First, create a configuration file for HTTP.
$ vim /etc/nginx/sites-available/umami.example.confYou should be able to use the following content largely as-is. Be sure to change the domain name, and if you are running Umami on a port other than 3000, you’ll also need to update the port number in the proxy_pass directive.
server {
    listen       80;
    server_name  umami.example.com;

    access_log  /var/log/nginx/umami.access.log;
    error_log   /var/log/nginx/umami.error.log;

    location / {
      proxy_pass http://localhost:3000;
      proxy_set_header X-Real-IP $remote_addr;
      proxy_set_header Host $host;
      proxy_set_header X-Forwarded-For $proxy_add_x_forwarded_for;
  }
}
Next, create a configuration file for HTTPS.
$ vim /etc/nginx/sites-available/umami.example.com-ssl.confSimilarly, you should be able to copy and paste the content, provided you replace all instances of umami.example.com with your own domain name.
server {
    listen 443 ssl http2;
    listen [::]:443 ssl http2;

    server_name umami.example.com;

    access_log  /var/log/nginx/umami-ssl.access.log;
    error_log   /var/log/nginx/umami-ssl.error.log;

    ssl_certificate /etc/acme/umami.example.com_ecc/fullchain.cer;
    ssl_certificate_key /etc/acme/umami.example.com_ecc/umami.example.com.key;
    include /etc/nginx/snippets/ssl-params.conf;

    location / {
        proxy_set_header X-Forwarded-For $proxy_add_x_forwarded_for;
        proxy_set_header X-Forwarded-Proto $scheme;
        proxy_set_header X-Real-IP $remote_addr;
        proxy_set_header Host $http_host;
        proxy_pass http://localhost:3000;
    }

    location ~ /.well-known {
        allow all;
    }

    client_max_body_size 1g;
}
The two configuration files you created should be linked as symbolic links in the /etc/nginx/sites-enabled/ directory. Nginx considers configuration files in sites-enabled to be active.
$ ln -s /etc/nginx/sites-available/umami.example.com.conf /etc/nginx/sites-enabled/
$ ln -s /etc/nginx/sites-available/umami.example.com-ssl.conf /etc/nginx/sites-enabled/
Finally, restart Nginx. If there are any issues with the configuration files, errors will be displayed at this point, allowing you to review and correct them.
$ systemctl restart nginxConfigure to Start Umami with PM2
To properly start Umami, I will outline the recommended method using PM2, which is endorsed by the official documentation. (Personally, I prefer using Supervisor as I’m more accustomed to it.)
$ yarn global add pm2
$ cd /opt/umami
$ pm2 start yarn --name umami -- start
$ pm2 startup
$ pm2 save
With this, the setup is complete.
Access the Dashboard
If the setup was completed successfully, accessing your configured domain should display the dashboard’s login page. By default, you can log in with the username admin and the password umami—be sure to change the password afterward. Once logged in, you can register your website and paste the tracking code on your site to start collecting data. For further instructions, please refer to the official documentation.

Discussion